Lately I have been obsessed with making Asian recipes in my sous vide. This week, I am trying my hand at Sous Vide Teriyaki Chicken. One pitfall of sous vide is that you cannot get crispy skin because of the low temperature so I am broiling the chicken in the last step. Overall, the recipe takes about two hours, but most of it is hands-off.
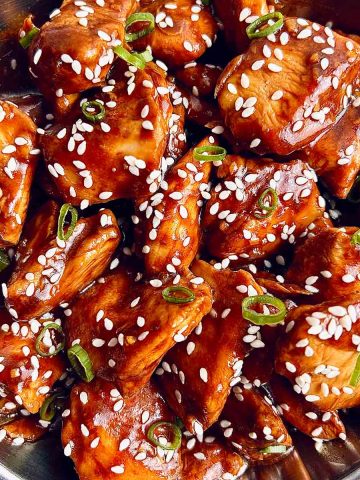
Can't get enough of sous vide recipes? Try my Sous Vide Char Siu and Sesame Chicken next!
🍗 About This Recipe
After making sous vide sesame chicken, I wanted to try making sous vide teriyaki chicken. For this recipe, I am using whole chicken quarters, but you can use thighs or drumsticks as well. The important thing is to use skin-on meat as we want to broil the skin in the last step to make it crispy.
The chicken will need to be marinated for at least 40 minutes. If I have time, I will go up to 4 hours but not more than that otherwise the meat will get too salty. Initially, I put everything in a vacuum-sealable bag, but I actually regret doing that because the vacuum sealer sucked out a lot of the marinade and made a mess. For the next time, I will use a Ziplock bag.
🧂 Ingredients

- Chicken: Any skin-on chicken meat is good for this. I am using chicken legs, but feel free to use drumsticks or thighs. Even breasts will work but you need to be more careful about overcooking in the broiling step.
- Marinade: Soy sauce, sugar, mirin, and miso. I love adding a little bit of miso but it is totally optional. You will want to push the miso through a sieve so that it dissolves easier.
- Cornstarch: We need just a little bit to thicken the sauce. We want the teriyaki sauce to have a glaze-like consistency, so it clings to the chicken with every bite.
🔪 Instructions


STEP 1: Combine the soy sauce, sugar, and mirin in a saucepan over medium-high heat. If you are using miso, use the back of a spoon to push it through a fine sieve into the other ingredients. Whisk continuously until the sugar dissolves then set aside to cool for 5 minutes.
STEP 2: Place the chicken legs in a zipper-lock bag and add the cooled teriyaki sauce. Close the bag and refrigerate the bagged chicken for at least 40 minutes and up to 4 hours.


STEP 3: After the chicken is done marinating, preheat a water bath to 150℉. Cook the chicken in the water bath for 1-4 hours. I generally go for longer as more of the fat will be rendered out.
STEP 4: When the chicken is cooked, preheat your broiler to 500℉. Cut a small hole into the corner of the bag and pour the cooking liquid into a small saucepan. Open the rest of the bag and remove the chicken to a plate. Pat the chicken dry with paper towels.

STEP 5: Place the saucepan on the stovetop and cook it over medium-high heat until it boils. Make a cornstarch slurry by mixing cornstarch with 1 teaspoon of water. Stir it into the sauce until it thickens. The sauce should be thick enough to coat the back of a spoon. If it gets too thick, add a little bit of water to thin it out.
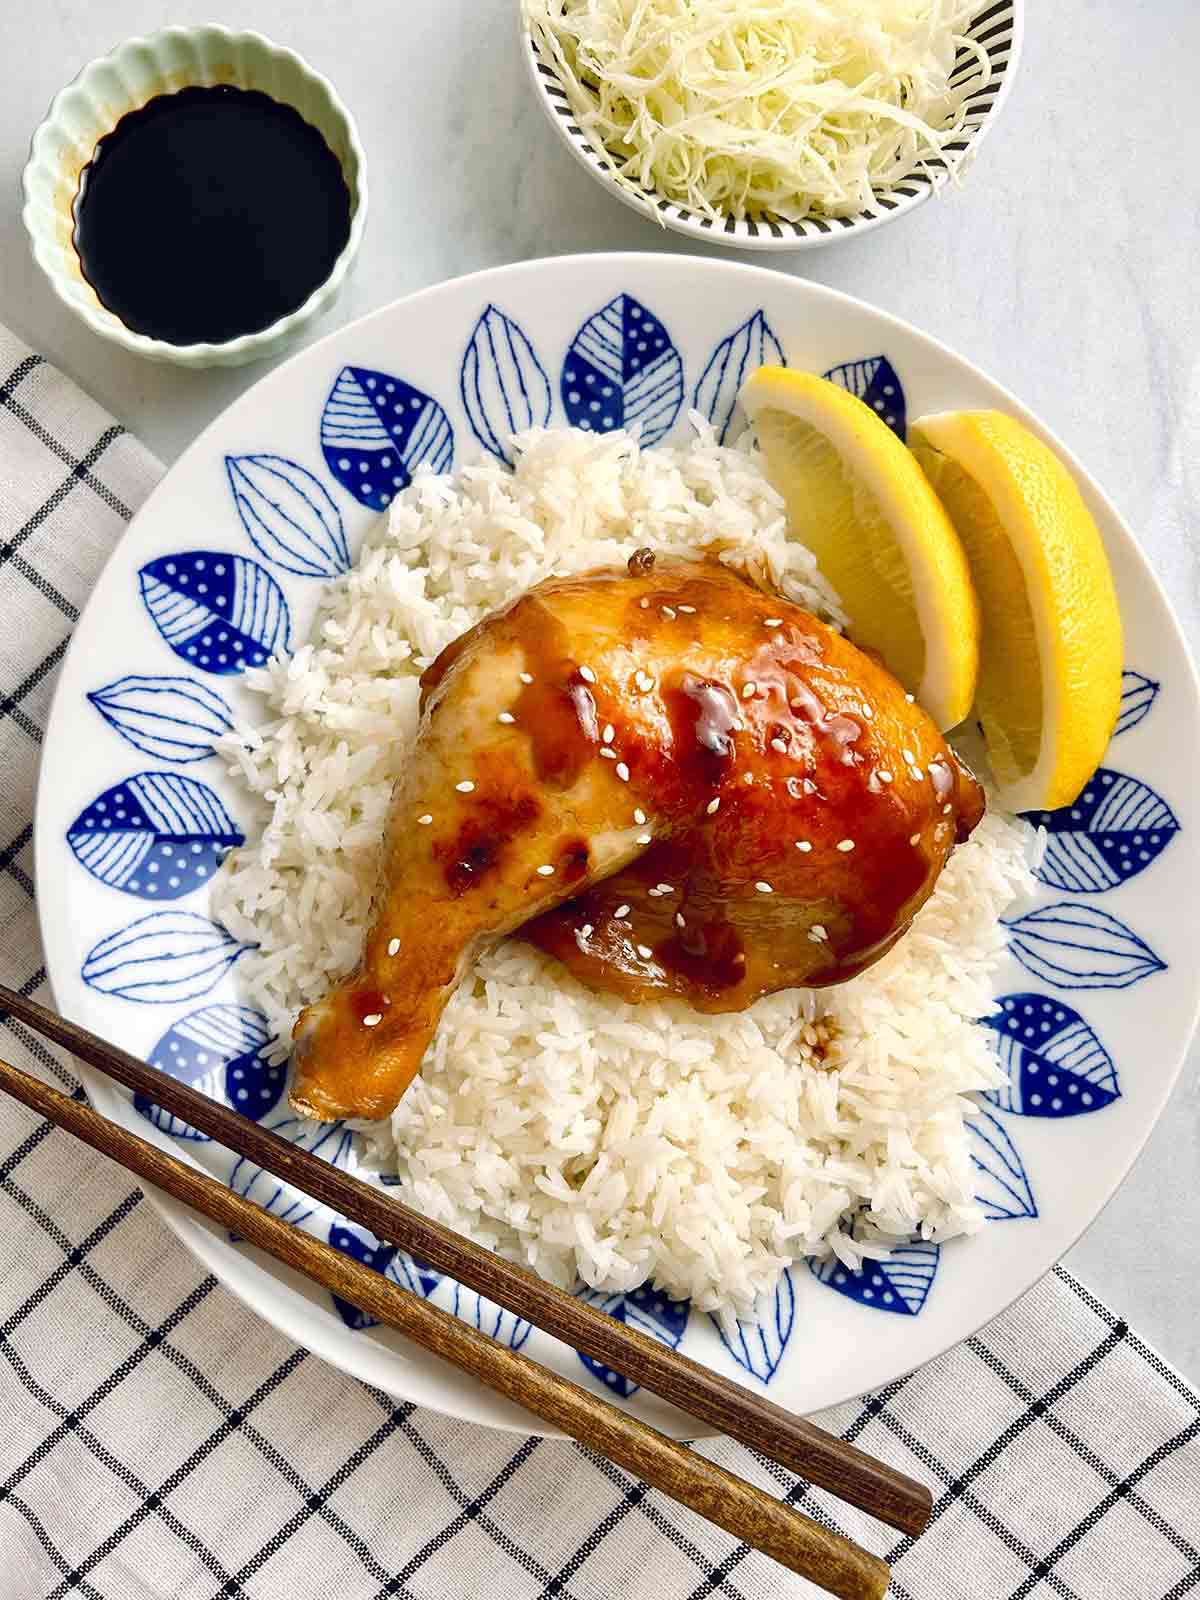
STEP 6: Place the chicken legs, skin-side up, on a roasting rack and brush on a thin layer of oil. Broil for 2-3 minutes until skin is brown and crispy. Serve with rice and lemon wedges, and drizzle the sauce on top.

📋 Recipe

Sous Vide Teriyaki Chicken
Ingredients
- 4 chicken legs (or chicken thighs or drumsticks)
- ¼ cup soy sauce
- ¼ cup sugar
- 1 tablespoon mirin
- ½ teaspoon miso (optional)
- 1 teaspoon cornstarch
- neutral oil (for brushing on the chicken)
- lemon wedges (for serving)
Instructions
- Combine the soy sauce, sugar, and mirin in a saucepan over medium-high heat. If you are using miso, use the back of a spoon to push it through a fine sieve into the other ingredients. Whisk continuously until the sugar dissolves then set aside to cool for 5 minutes.
- Place the chicken legs in a zipper-lock bag and add the cooled teriyaki sauce. Close the bag and refrigerate the bagged chicken for at least 40 minutes and up to 4 hours.
- After the chicken is done marinating, preheat a water bath to 150℉. Cook the chicken in the water bath for 1-4 hours. I generally go for longer as more of the fat will be rendered out.
- When the chicken is cooked, preheat your broiler to 500℉. Cut a small hole into the corner of the bag and pour the cooking liquid into a small saucepan. Open the rest of the bag and remove the chicken to a plate. Pat the chicken dry with paper towels.
- Place the saucepan on the stovetop and cook it over medium-high heat until it boils. Make a cornstarch slurry by mixing cornstarch with 1 teaspoon of water. Stir it into the sauce until it thickens. The sauce should be thick enough to coat the back of a spoon. If it gets too thick, add a little bit of water to thin it out.
- Place the chicken legs, skin-side up, on a roasting rack and brush on a thin layer of oil. Broil for 2-3 minutes until skin is brown and crispy. Serve with rice and lemon wedges, and drizzle the sauce on top.


Dave Yuhas
After the chicken is done marinating do you change bags before putting the chicken in the water bath?
Grump
You do not need to change the bag